我的书签
我的书签
 添加书签
添加书签 移除书签
移除书签- 7.2 世界聊天系统实现
- B) 聊天业务API建立
- C) 测试世界聊天功能
7.2 世界聊天系统实现
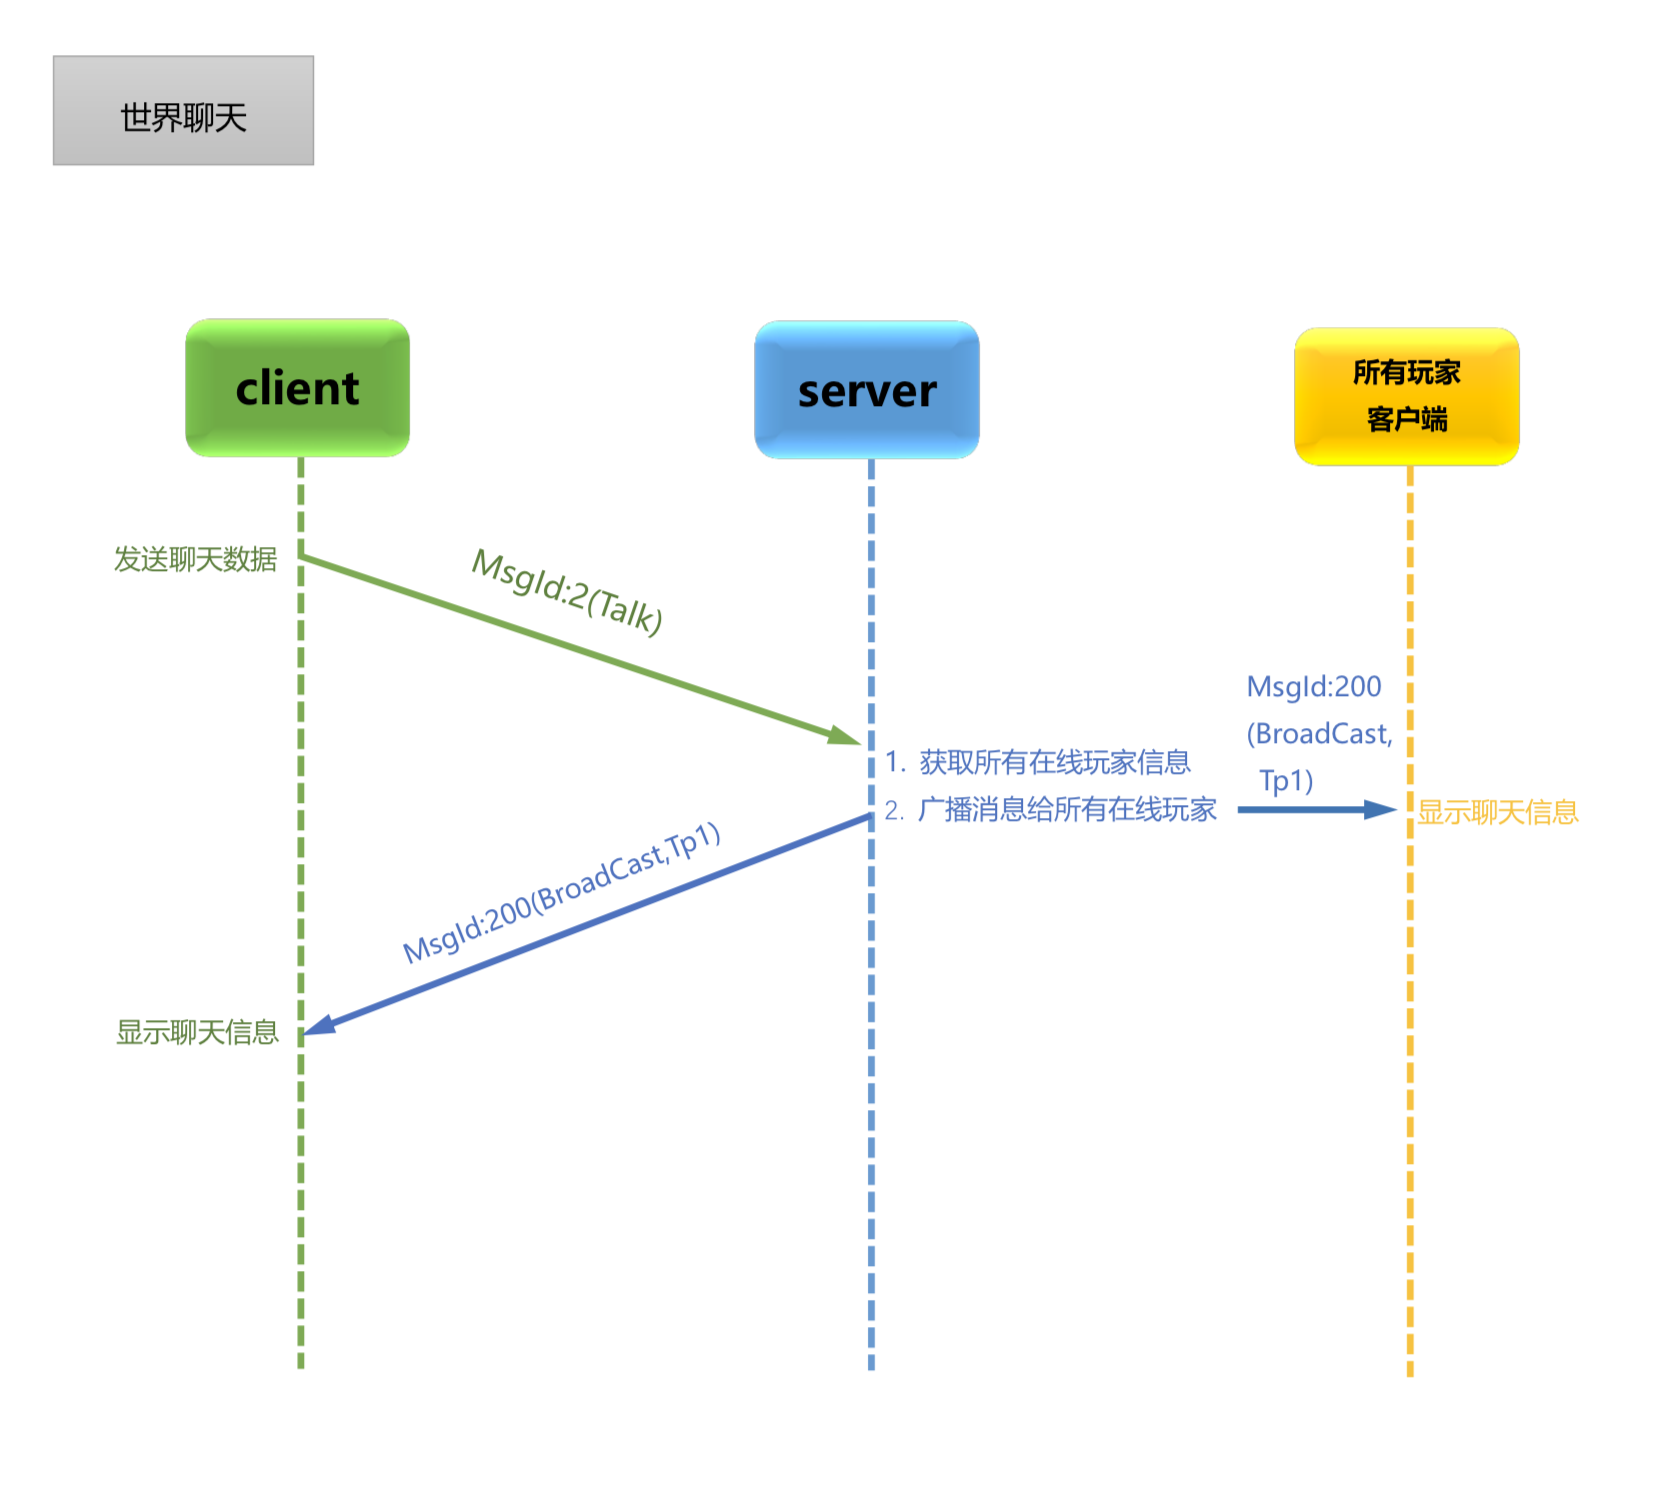
接下来,我们来做一个玩家和玩家之间的世界聊天广播功能。
 A) proto3协议定义
这里涉及到了MsgId:2的指令,还有对应的Talk的proto协议。
MsgID:2
Talk:
同步玩家本次登录的ID(用来标识玩家), 玩家登陆之后,由Server端主动生成玩家ID发送给客户端
发起者: Client
Content: 聊天信息
message Talk{string Content=1;}
所以我们应该先修改proto文件
mmo_game/pb/msg.proto
syntax="proto3"; //Proto协议package pb; //当前包名option csharp_namespace="Pb"; //给C#提供的选项//同步客户端玩家IDmessage SyncPid{int32 Pid=1;}//玩家位置message Position{float X=1;float Y=2;float Z=3;float V=4;}//玩家广播数据message BroadCast{int32 Pid=1;int32 Tp=2; //1-世界聊天 2-玩家位置oneof Data {string Content=3; //聊天的信息Position P=4; //广播用户的位置int32 ActionData=5;}}//=====================//玩家聊天数据message Talk{string Content=1; //聊天内容}//=====================
执行build.sh 生成新的msg.proto.go文件。
B) 聊天业务API建立
接下来,我们创建一个api文件
mmo_game/api/world_chat.go
package apiimport ("fmt""github.com/golang/protobuf/proto""zinx/ziface""zinx/zinx_app_demo/mmo_game/core""zinx/zinx_app_demo/mmo_game/pb""zinx/znet")//世界聊天 路由业务type WorldChatApi struct {znet.BaseRouter}func (*WorldChatApi) Handle(request ziface.IRequest) {//1. 将客户端传来的proto协议解码msg := &pb.Talk{}err := proto.Unmarshal(request.GetData(), msg)if err != nil {fmt.Println("Talk Unmarshal error ", err)return}//2. 得知当前的消息是从哪个玩家传递来的,从连接属性pid中获取pid, err := request.GetConnection().GetProperty("pid")if err != nil {fmt.Println("GetProperty pid error", err)request.GetConnection().Stop()return}//3. 根据pid得到player对象player := core.WorldMgrObj.GetPlayerByPid(pid.(int32))//4. 让player对象发起聊天广播请求player.Talk(msg.Content)}
这里实际上对于msgID:2的路由业务函数的实现。其中有个小细节需要注意一下。第2步,根据链接conn得到当前玩家的pid,应该是我们之前在玩家上线的时候,将pid和conn做一个属性绑定,如下:
mmo_game/server.go
//当客户端建立连接的时候的hook函数func OnConnecionAdd(conn ziface.IConnection) {//创建一个玩家player := core.NewPlayer(conn)//同步当前的PlayerID给客户端, 走MsgID:1 消息player.SyncPid()//同步当前玩家的初始化坐标信息给客户端,走MsgID:200消息player.BroadCastStartPosition()//将当前新上线玩家添加到worldManager中core.WorldMgrObj.AddPlayer(player)//=================将该连接绑定属性Pid===============conn.SetProperty("pid", player.Pid)//===============================================fmt.Println("=====> Player pidId = ", player.Pid, " arrived ====")}
接下来,我们来看一下Player里的Talk实现方法:
mmo_game/core/player.go
//广播玩家聊天func (p *Player) Talk(content string) {//1. 组建MsgId200 proto数据msg := &pb.BroadCast{Pid:p.Pid,Tp:1,//TP 1 代表聊天广播Data: &pb.BroadCast_Content{Content: content,},}//2. 得到当前世界所有的在线玩家players := WorldMgrObj.GetAllPlayers()//3. 向所有的玩家发送MsgId:200消息for _, player := range players {player.SendMsg(200, msg)}}
C) 测试世界聊天功能
我们在服务端运行server
$go run server.go$ go run server.goAdd api msgId = 2[START] Server name: Zinx Game,listenner at IP: 0.0.0.0, Port 8999 is starting[Zinx] Version: V0.11, MaxConn: 3000, MaxPacketSize: 4096start Zinx server Zinx Game succ, now listenning...Worker ID = 9 is started.Worker ID = 4 is started.Worker ID = 5 is started.Worker ID = 6 is started.Worker ID = 7 is started.Worker ID = 8 is started.Worker ID = 0 is started.Worker ID = 1 is started.Worker ID = 2 is started.Worker ID = 3 is started.
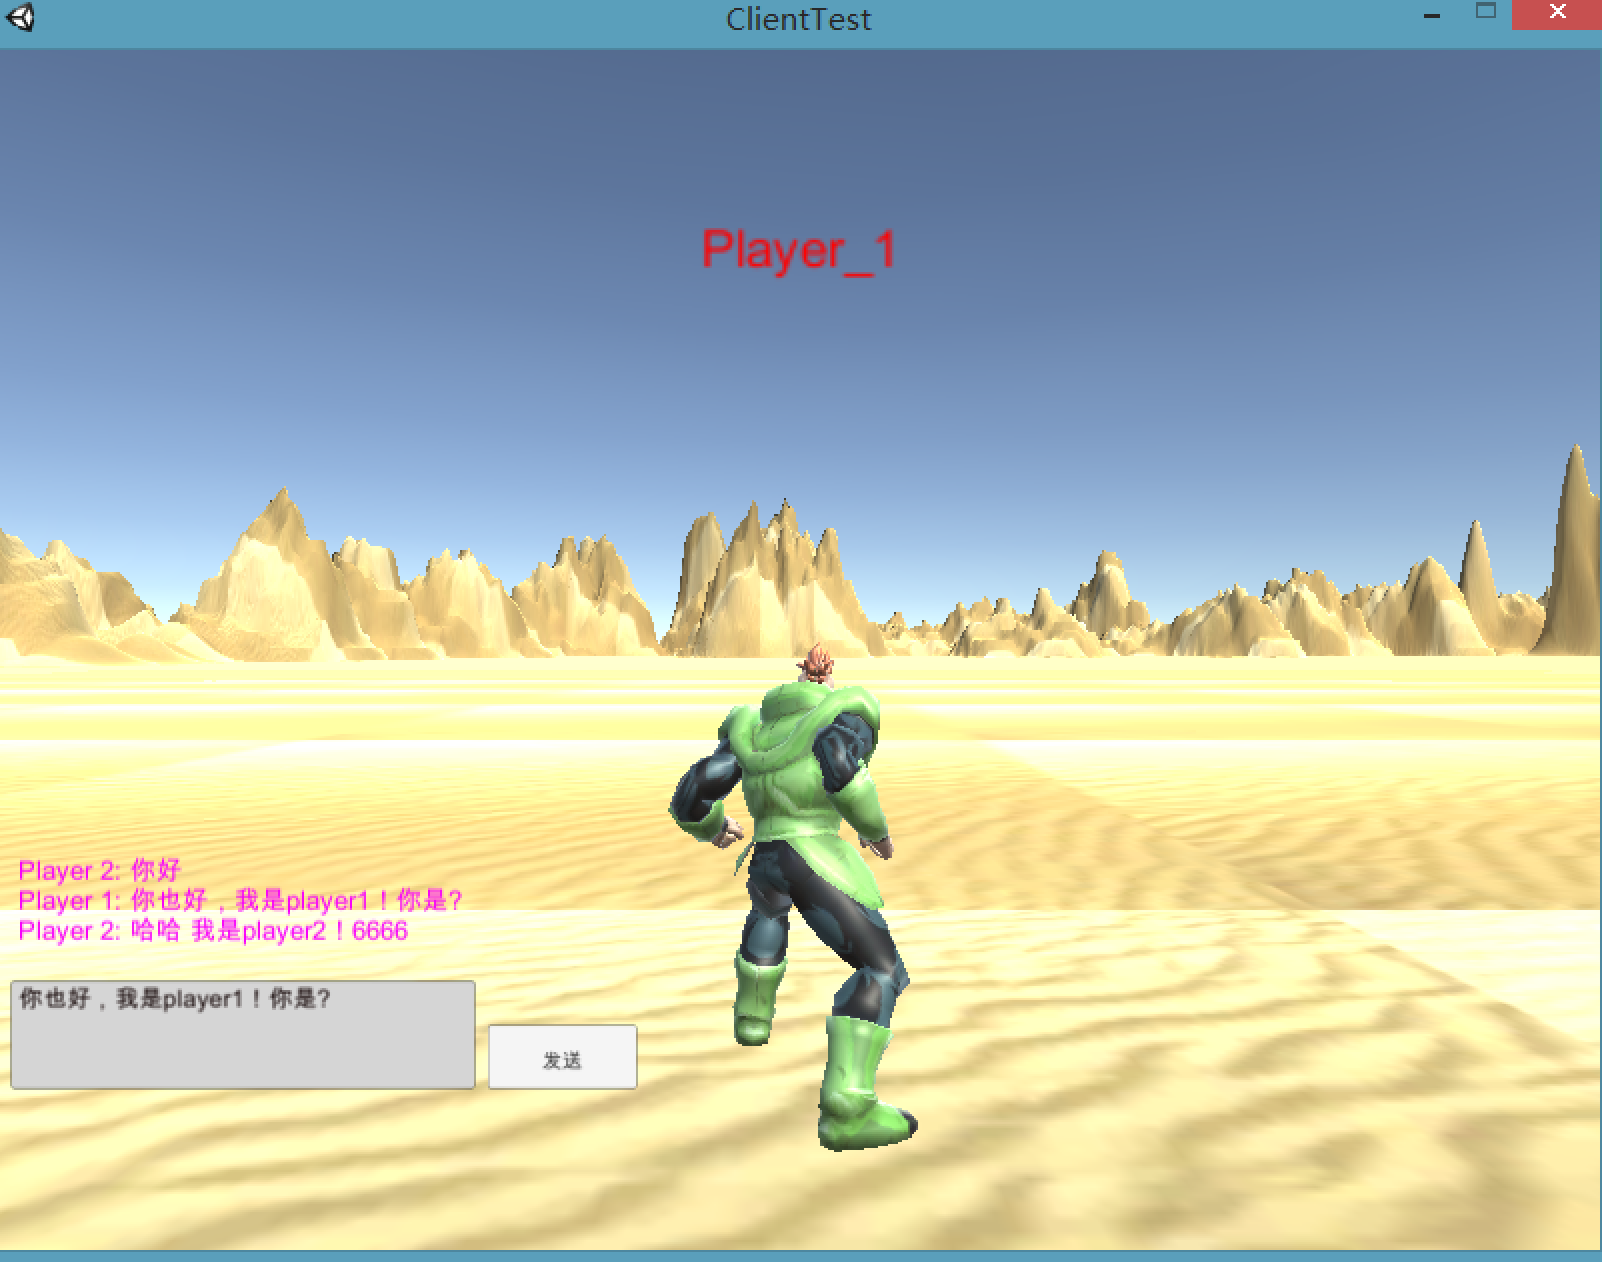
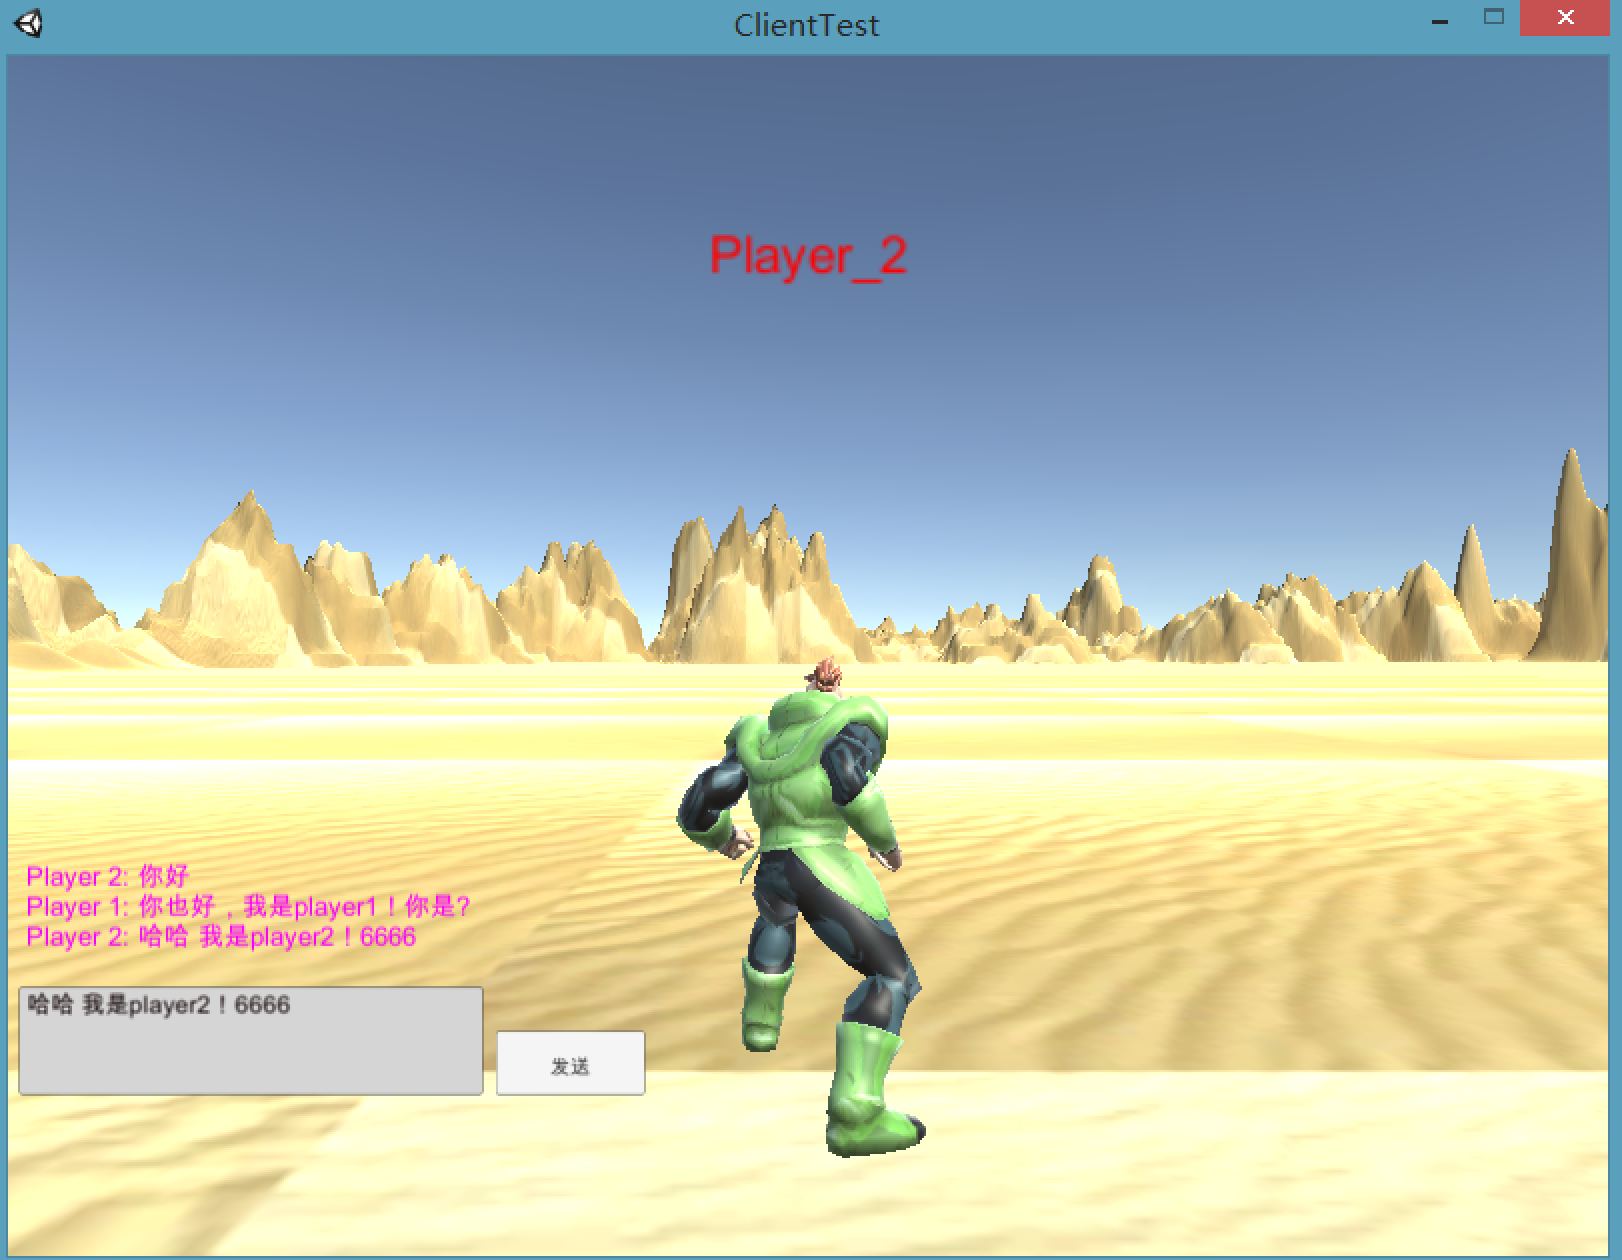
打开两个客户端,分别互相聊天,效果如下,我们的聊天功能已经实现了。