- 演练:创建Android自动化测试
- 目标
- 环境
- 操作步骤
- 新建项目
- 准备被测应用
- 编辑用例
- 完善自动化测试代码
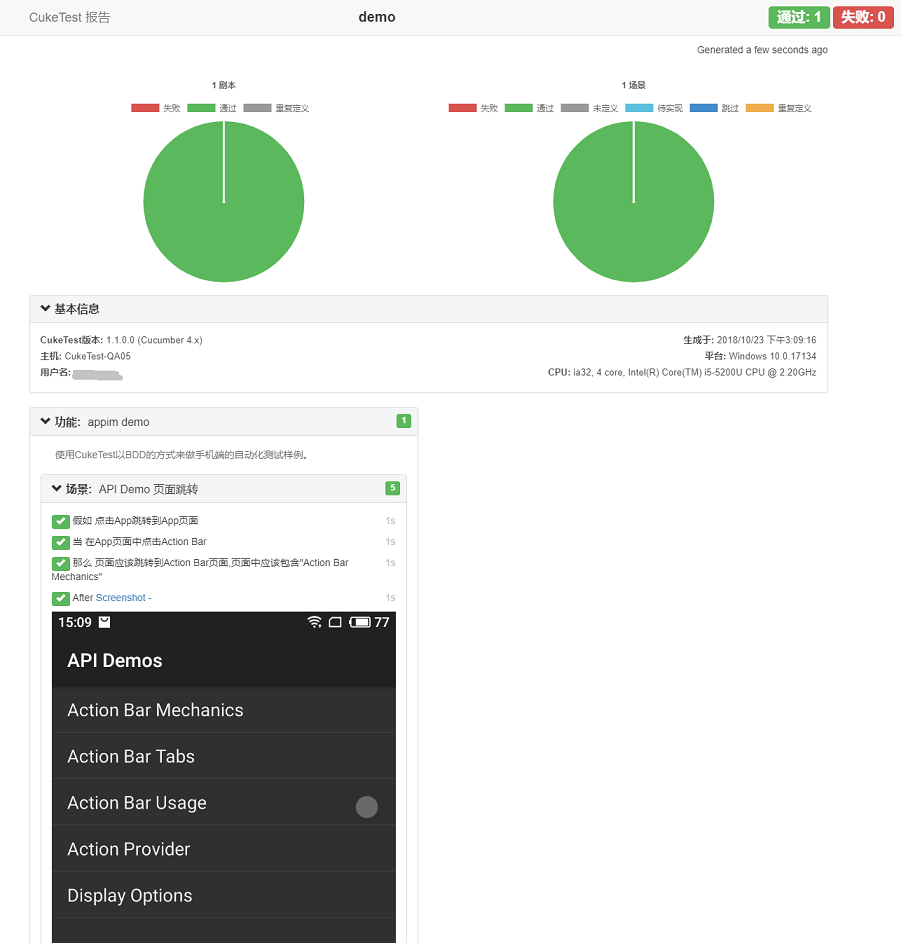
- 运行
演练:创建Android自动化测试
目标
- 掌握如何定位手机应用控件
- 掌握Android手机自动化测试流程
环境
- 前提条件
- 配置Android SDK环境
- 安装Appium
- 准备Android手机或者模拟器
- 被测应用:Appium自带的应用API Demo
操作步骤
新建项目
打开CukeTest,【文件】—【新建项目】项目模板选择【mobile】,分别输入【项目名】和【项目路径】,点击【创建】。
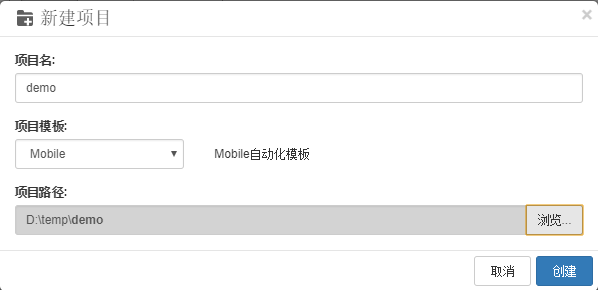
CukeTest会自动创建一个手机自动化测试脚本。要成功运行这个项目,请在项目目录下执行 npm install 命令安装项目依赖。
准备被测应用
测试客户端:https://github.com/appium/sample-code/tree/master/sample-code/apps/ApiDemos/bin下载并安装到自己的手机。
编辑用例
打开文件,在【可视】界面中输入如下内容
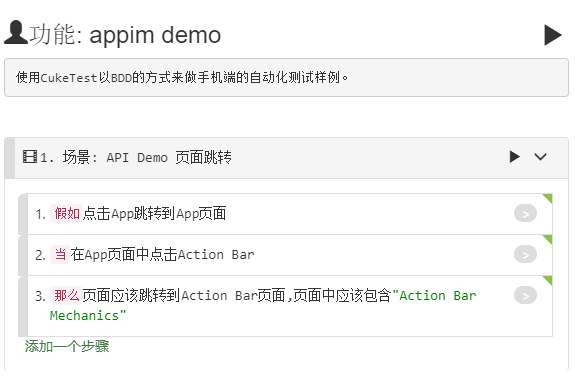
对应的【文本】视图内容为:
# language: zh-CN功能: appim demo使用CukeTest以BDD的方式来做手机端的自动化测试样例。场景: API Demo 页面跳转假如点击App跳转到App页面当在App页面中点击Action Bar那么页面应该跳转到Action Bar页面,页面中应该包含"Action Bar Mechanics"
完善自动化测试代码
- 获取设备串号
adb devicesList of devices attachedY15QKCPH278J4 device
- 获取应用package并启动activity命令行输入
adb logcat | findstr START手动打开 Demo API 应用,从日志中获取。
...[android.intent.category.LAUNCHER] flg=0x10200000 cmp=io.appium.android.apis/.ApiDemos bnds=[16,640][188,832] (has extras)} from uid10013 from pid 1943 on display 0 from pid 1943...
取到app的package 和 activity 为 io.appium.android.apis/.ApiDemos
- 修改driver定义代码
打开 support\get_driver.js,分别修改 devicesName,appPackage,appActivity的内容。修改完成后为:
const webdriverio = require('webdriverio');//设置被测应用参数let options = {desiredCapabilities: {platformName: "Android",deviceName: "Y15QKCPH278J4", //设备序列串号platformVersion: "5.1", //系统平台版本appPackage: "io.appium.android.apis", //package 名字appActivity: ".ApiDemos", //启动activity 名字resetKeyboard: true,noReset: true,unicodeKeyboard: true},host: "127.0.0.1",port: 4723}//根据参数配置创建WebDriverIO实例;function createDriver() {const client = webdriverio.remote(options);return client;}exports.driver = createDriver();
- 自动化测试代码打开
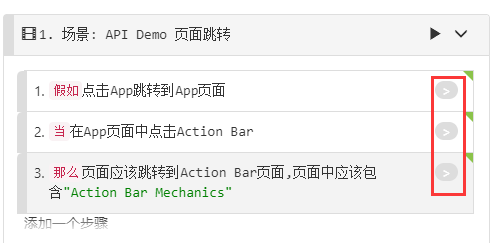
features/feature1.feature文件,点击 step 后面的灰色按钮,生成自动化脚本样例。
使用uiautomatorviewer 工具定位到客户端元素
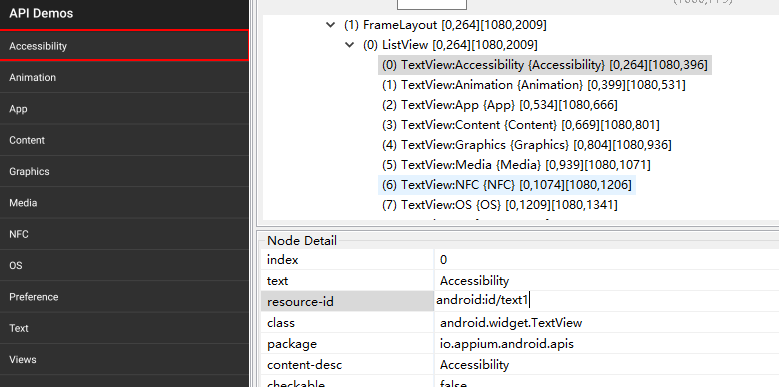
根据元素定位信息,完成对相关操作的代码实现"step_definitons/definitoins.js":
const { Given, When, Then } = require('cucumber')const assert = require('assert');const { driver } = require('../support/get_driver');const { $ } = require('webdriverio')//// 你的步骤定义 /////Given("点击App跳转到App页面", async function () {await driver.click('android=new UiSelector().text("App").index(2)')});When("在App页面中点击Action Bar", async function () {await driver.click('android=new UiSelector().text("Action Bar").index(0)')});Then("页面应该跳转到Action Bar页面,页面中应该包含{string}", async function (arg1) {let texts = await driver.getText('android=new UiSelector().textStartsWith("Action")')console.log(texts)return assert.ok(texts.includes(text))});
运行
- 启动appium
appium[Appium] Welcome to Appium v1.8.1[Appium] Appium REST http interface listener started on 0.0.0.0:4723
- 运行项目点击运行项目按钮,可以看到手机自动化运行。
