 我的书签
我的书签
 添加书签
添加书签 移除书签
移除书签- 开始
- 安装mpx-cli
- 创建工程
- mpx编译
- 小程序编译
- 创建App/Page/Component
- 例子
开始
使用脚手架mpx-cli,快速开始开发mpx小程序
安装mpx-cli
npm i -g @mpxjs/cli
创建工程
- 在已有文件夹内创建mpx工程:
# 当前文件夹名就是你的项目名mpx init .
- 在当前目录中创建工程目录
mpx init <project-name>
插件项目由于微信限制必须填写插件的AppID,普通项目无强制要求。
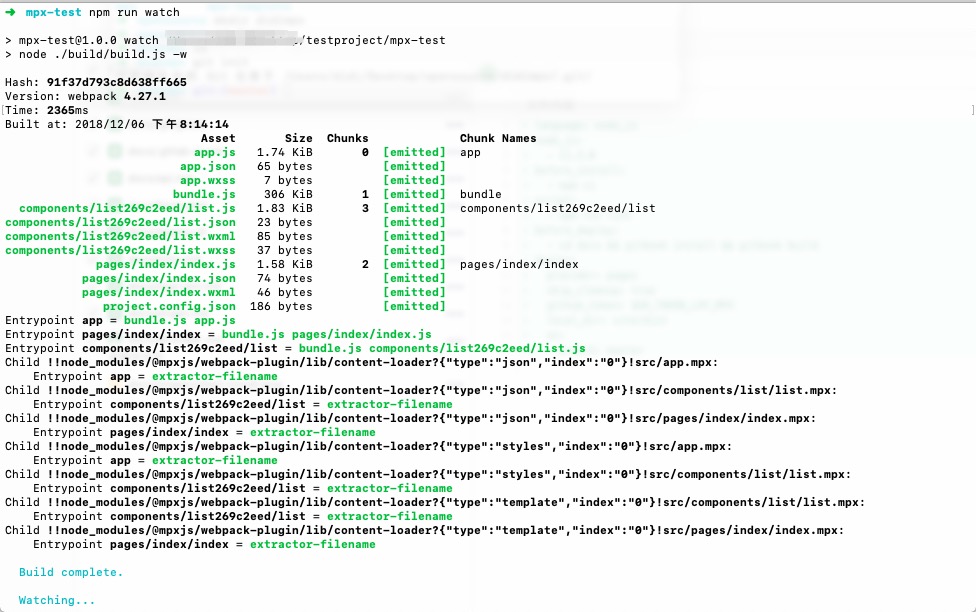
mpx编译
启动服务,mpx会将源码编译成小程序识别的代码,并监听文件变化进行重编译
npm installnpm run watch
小程序编译
mpx编译完成后,会将小程序代码放置在dist目录
参考小程序官方的开发指南进行预览、调试
创建App/Page/Component
我们通过createApp、createPage、createComponent(分别对应小程序原生的App、Page、Component方法)来创建小程序、页面、组件。
下面看一个例子:
例子
开始一个demo项目的流程。
初始化项目: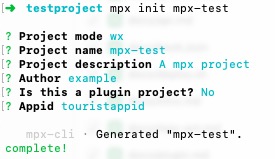
接下来:
# 进入projectcd mpx-demo# 安装依赖npm i# 进行开发npm run watch
用微信开发者工具打开目录 ~/testproject/mpx-test/dist
在src/app.mpx创建一个App
<script>import { createApp } from '@mpxjs/core'createApp({computed: {},methods: {},onShow(options) {console.log(options)}})</script><style lang="stylus">pagefont-family: PingFangSC-Regular, PingFang SC, STHeitiSC-Light, Helvetica-Light, arial, sans-serif</style><script type="application/json">{"pages": ["pages/index/index"],"window": {"backgroundTextStyle": "light","navigationBarBackgroundColor": "#fff","navigationBarTitleText": "WeChat","navigationBarTextStyle": "black"}}</script>
在src/pages创建Page
<template><view class="page-container"><list></list></view></template><script>import {createPage} from '@mpxjs/core'createPage({onLoad: function () {}})</script><style lang="stylus">.page-containerfont: 14px 'Helvetica Neue', Helvetica, Arial, sans-serif</style><script type="application/json">{"usingComponents": {"list": "../../components/list/list"}}</script>
修改src/component/list/list.mpx的代码:
<template xmlns=""><view class="list"><!--增强指令 wx:style--><view wx:style="{{listStyle}}" wx:for="{{listData}}">{{item}}</view><!--增强指令 wx:class--><view wx:class="{{isViewClass ? viewClass : ''}}">{{testData}}</view><!--watch question改变answer--><view>{{question}}</view><view>{{answer}}</view><!--增强指令 wx:model,用于双向绑定--><input wx:model="{{model}}"/><input wx:model="{{testModel.model}}"/><input wx:model="{{testModel['model']}}"/><!--动态组件,此处的componentName为json中注册的usingComponents的key值--><component is="{{componentName}}"></component></view></template><script>import {createComponent} from '@mpxjs/core'import mixin from './mixin'createComponent({mixins: [mixin],data: {model: '我是测试model双向绑定',testModel: {model: '我是测试model双向绑定'},listData: {'phone': '手机','tv': '电视','computer': '电脑'},isViewClass: true,viewClass: 'white-color',listStyle: {color: '#fff'},question: '我是测试watch用的',answer: '我也是测试watch用的!',componentName: 'testA'},ready () {// mixinTestData来自mixinconsole.log('component ready:', this.mixinTestData.tv)setTimeout(() => {this.changeData()// 可以看到data可直接修改,实现了computed功能。this.listData.phone = '110'this.componentName = 'testB'}, 2000)},computed: {testData () {return JSON.stringify(this.listData)}},pageShow () {// 所在页面显示之后就会执行一次console.log('page show')},pageHide () {// 页面切入后台执行console.log('page hide')},watch: {question(newval, oldval) {this.answer = '我是测试观察属性watch'}},methods: {changeData() {this.question = '我是测试观察属性watch'}}})</script><style lang="stylus">.listbackground-color red.white-colorcolor #fff</style><script type="application/json">{"component": true,"usingComponents": {"testA": "./testA","testB": "./testB"}}</script>
更多用法可以看这个todoMVC示例:https://github.com/didi/mpx/tree/master/examples/mpx-todoMVC
